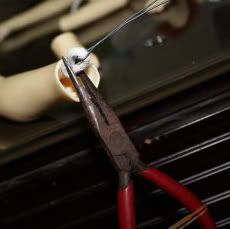
*Please highlight the words if you want to read it in English. *英語でそれを読みたいなら、言葉を強調してください。 `THANK YOU! In this blog, the Japanese was translated by the translation tool, http://www.excite.co.jp/world/. このブログでは、日本語の言語は翻訳ツールによって翻訳されました。

抱歉,教學暫時未提供英文及日文。Sorry, the teaching techniques don’t provide language of English and Japanese.

6.12.2009

娃體拉筋-SD10女篇;The rubber band of SD10 female

同樣是剛剛今日弄好的教學:娃體拉筋-SD10女篇
Today, I would like to introduce tuition, the rubber band of SD10 female


材料: 夾子、牙籤、橡皮圈及鐵絲
Tools: clamp, toothpick, rubber band and steel wire
And, I am not translated in English, sorry. Please estimate the meaning from the photos.
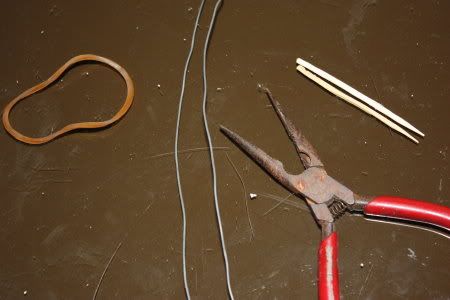
Photobucket

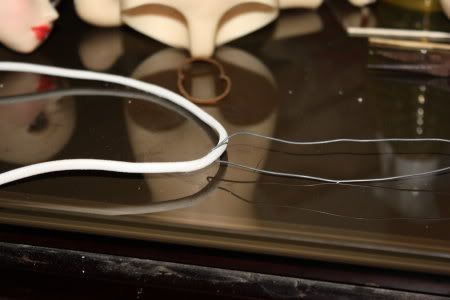
鐵絲的用途:帶筋
Photobucket

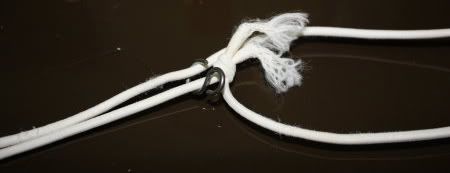
夾子及橡皮圈的用途:夾緊筋
Photobucket


開始了!!!!!
(1)先將筋量好長度及打結

(2)之後用鐵絲將筋帶過手
Photobucket
帶過手之後,是這樣的:
Photobucket

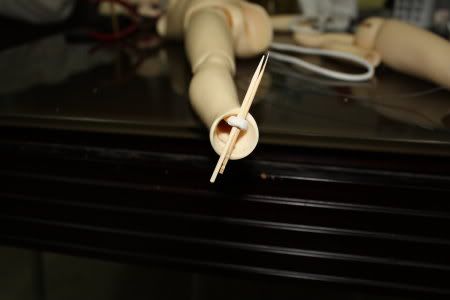
(3)將筋帶過之後,用牙籤防止筋被自己從另一端扯走
Photobucket

(4)可以拉其中的一隻手
Photobucket
拉好之後,用力扯牙籤那一端的,成了這樣:
Photobucket

(5)之後,拉另一隻手
Photobucket

(6)拉好,用夾子及橡皮圈將筋夾定
Photobucket

(7)將手部零件組上
Photobucket

完成手:
Photobucket


到腳了:

先似這樣的將筋綁好
Photobucket

(1)將頭部的S鈎鈎在筋的中間位,再拿住S鈎,自然的將筋分了兩條
Photobucket
這樣的:
Photobucket

(2)用夾子夾緊
Photobucket

(3)筋分成兩條
Photobucket

(4)將筋帶入娃身
Photobucket Photobucket

(5)拉好一端的腳至小腿,用牙籤固定
Photobucket

(6)之後拉另一隻腳,用夾子固定,再組上腳踝零件,完成一隻腳
Photobucket

(7)到另一隻用了牙籤固定的腳,用夾子固定筋,再組上腳踝零件,完成:
Photobucket

大完成!!!!!
Photobucket


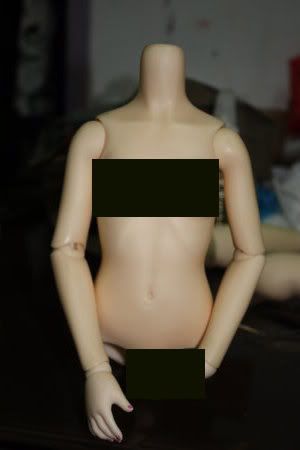
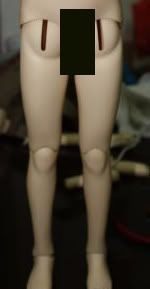
抱歉,因為禁止問題,圖中有打格的地方
本blog不歡迎未經受權盜連者及未經受權而轉載網內任何圖像或資料者啊!!!!
Be faith to all your conduct.
すべてのあなたの行ないへ信頼でであって下さい。
THANK YOU~~~~(*3*)/

Doll Search Engine (Website)

You can search my blog in these doll search website when you enter the keyword, Rarlo Room. D*Search
SD Town [ 前へ 次へ ] [ ランダム ] [Home] SD search engine
D*Search